
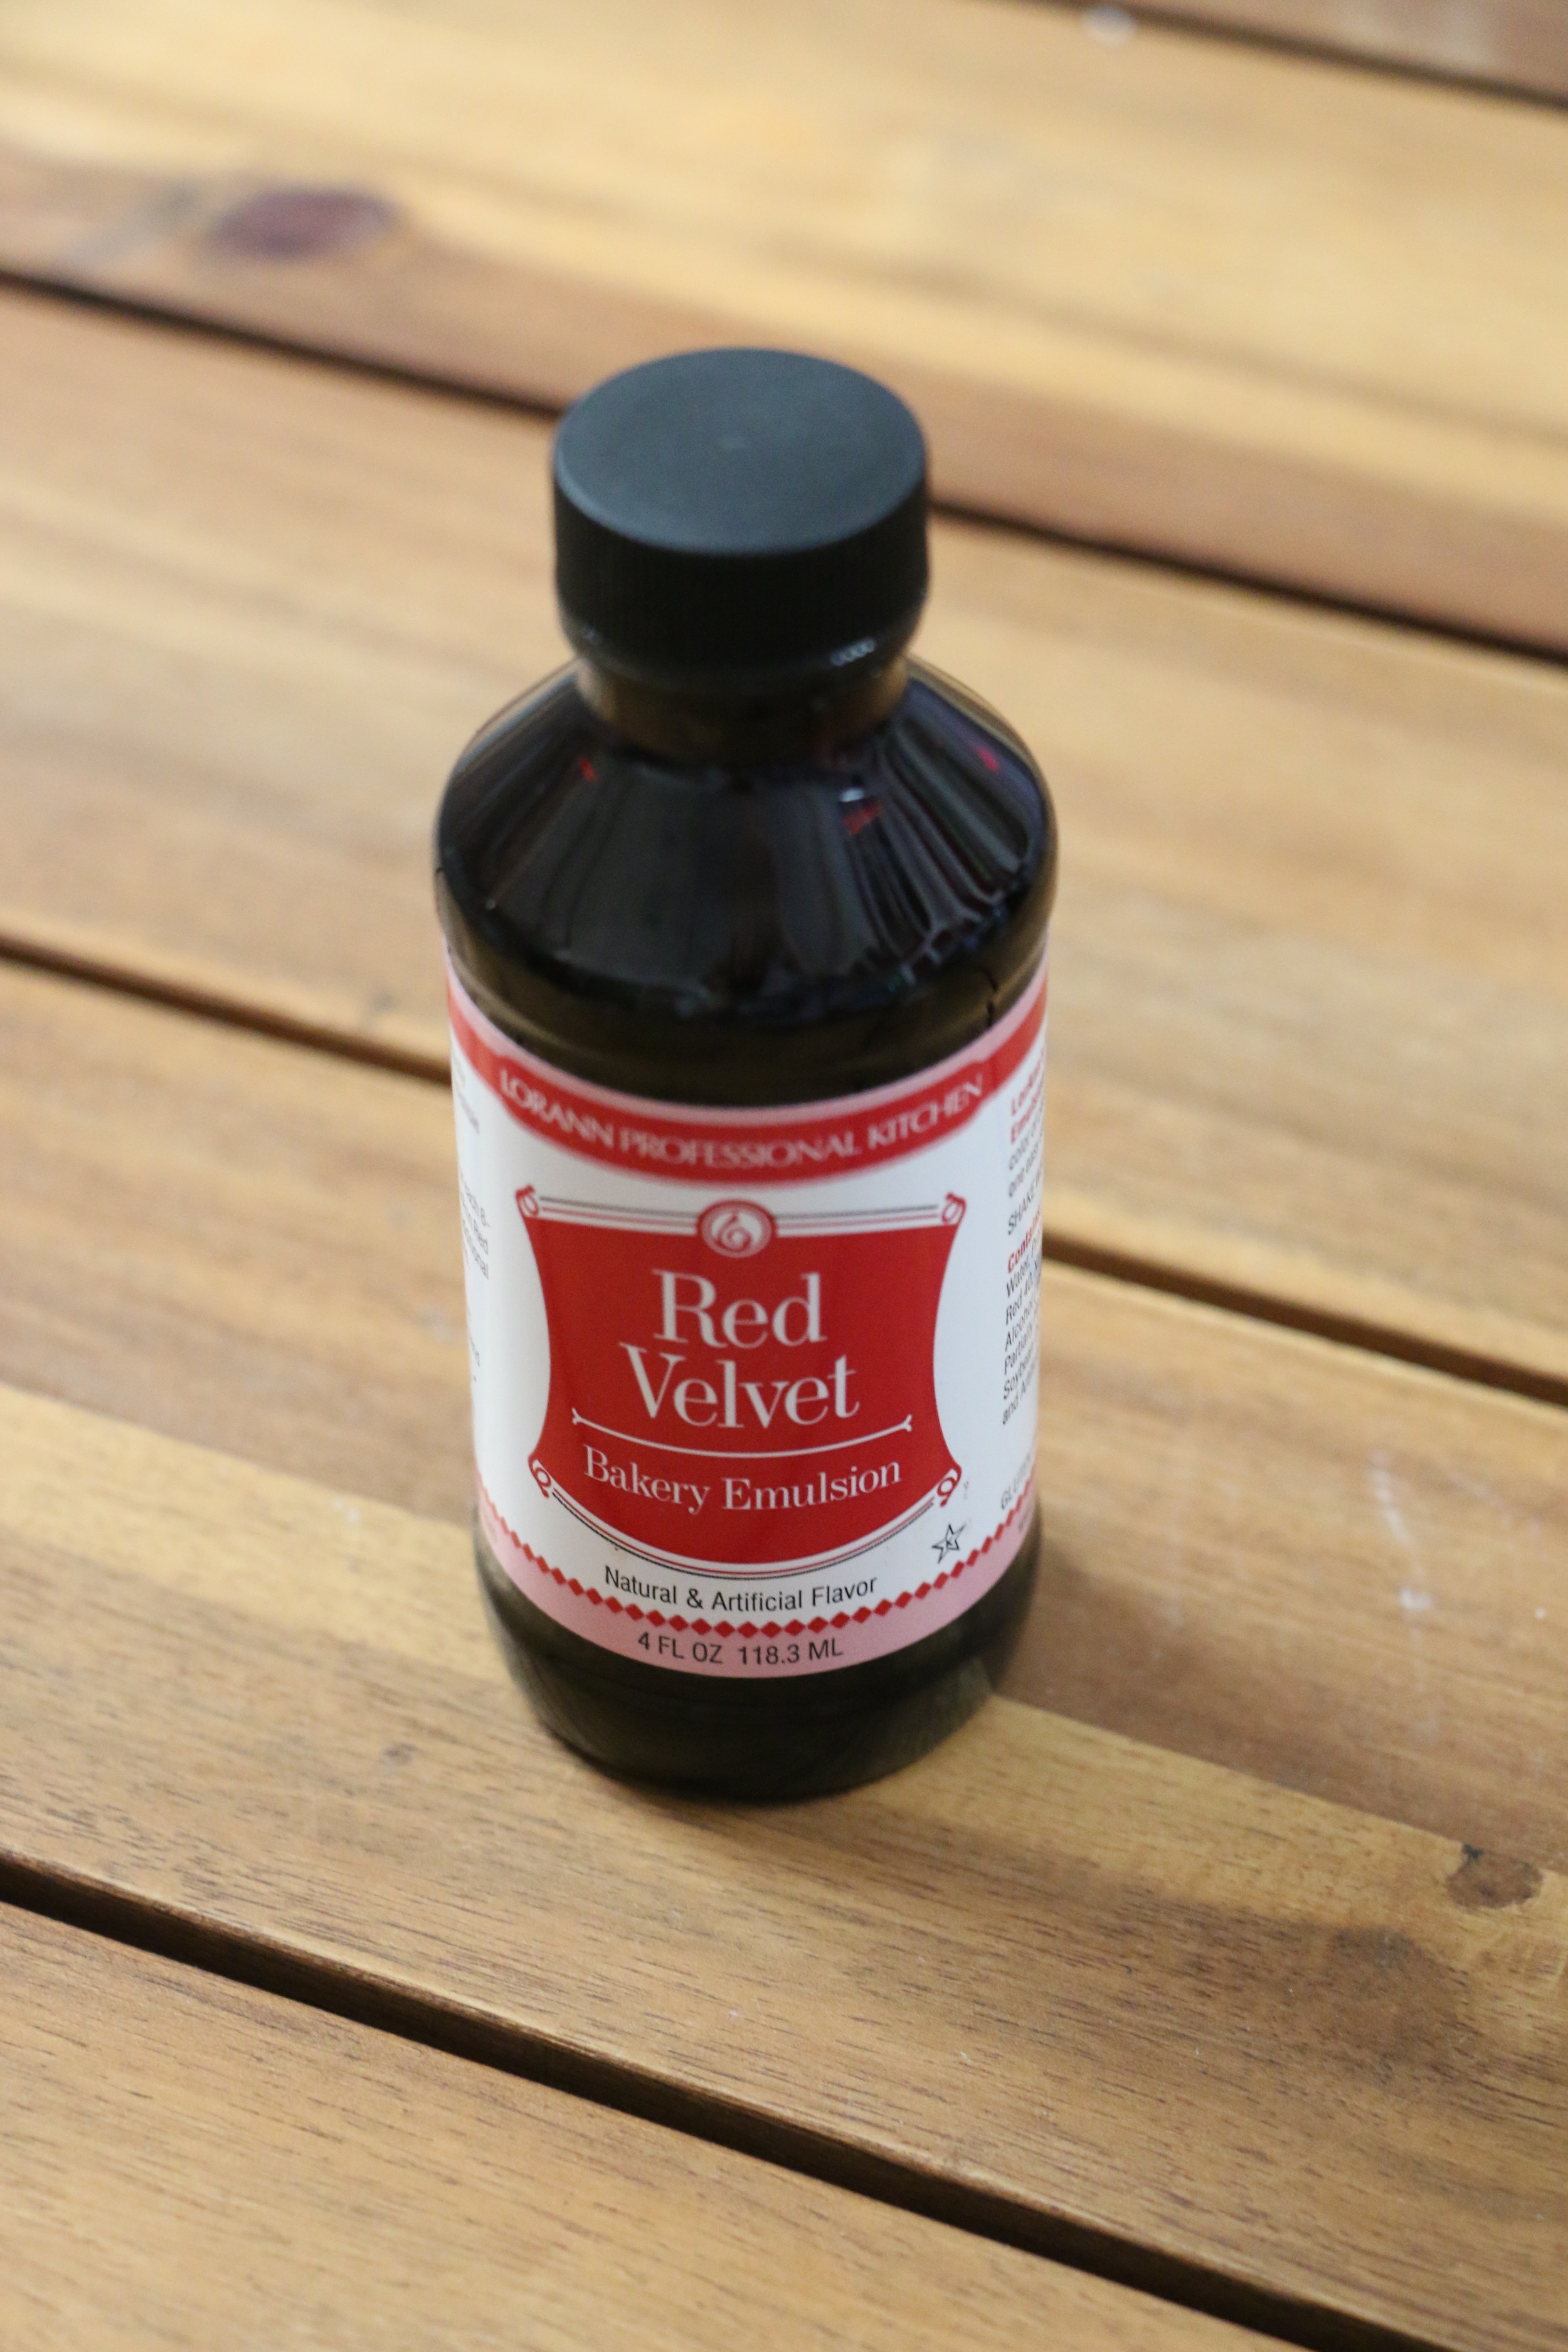
So here's the thing: if you are really going for full on "red velvet cake flavor" (because it is it's own damn thing, amiright?) I say just go for this little bottle of condensed RVC.
Lorann Professional Kitchen recognized our national love of RVC and was like "Woah. let's emulsify that shit, so we can make ANYTHING Red Velvet!" which is why you see red velvet donuts, and soft serve, and waffles, and deodorant... well, maybe not that last one, but you get the point.
When it comes to baking RVC I'm past the point of being artisan about it. Let's not pretend there is anything dignified about our American obsession with Red Velvet Cake. It's shameless, delicious, and just a little bit gross.
So let's stop messing around and just commit.
I mean, at the end of the day you are consuming a bright red cake: it's decidedly gaudy but proudly so and I think that pretty much describes July 4th wouldn't you say?

This beautiful cake stand was given to me by local ceramicist Ona Meyer for use in my cookbook but it just seemed to fitting for this cake so I had to give it a test run...
Red Velvet Cake
2 1/2 cup flour
1 tsp baking powder
1 tsp salt
1 1/2 cup sugar
2 Tbl cocoa powder
1/2 cup soft butter
2 oz Red Velvet Bakery Emulsion (half a bottle)
2 eggs
1 tsp vanilla
1 cup buttermilk
1 tsp vinegar
1 tsp baking soda
In an electric mixer Whip sugar and softend butter until soft and fluffy. Add in eggs one at a time, and beat thoroughly between each addition. Add in your vanilla, and Red Velvet Emulsion. Make sure there are no streaks in your batter and that the color is distributed throughout.
Separately sift together your dry ingredients: flour, baking powder, salt, and cocoa powder. Do not sift in your baking soda! You will be adding it in last.
Add your sifted ingredients to the red butter/sugar mixture, alternating with the buttermilk until your batter is homogenous.
In a small bowl mix together baking soda and vinegar. It will foam up briefly, and than eventually the soda will settle at the bottom so stir it up real good (again) right before you fold it into your batter so you can be sure and get the soda in there. Fold with a rubber spatula until you are certain is has been distributed evenly.
Pour into two 9" greased lined cake pans and bake at 350 for about 40 minutes turning half way through. To test doneness insert a toothpick into the center of the cake. It should come out clean.
Allow your cakes to cool completely before frosting.
Many people like cream cheese frosting with their Red Velevt cake but I'm not many people. It's too sweet for me (thanks to all that powdered sugar) which is why I like to go old school with a Whipped spin on a traditional Ermine frosting...
Buttermilk Buttercream.
This is the real star of the show. I am absolutely in love with this frosting, and you will be too. It's so much better then cream cheese frosting but with a similar tang. It is fluffier, far less saccharine, and more stable in hot weather!
My gift to you on America's Birthday:
Buttermilk Buttercream
2 cups buttermilk
10 tbl flour
2 1/2 cup flour
1 1/2 lb soft butter
1/4 tsp baking powder (for taste)
1/2 tsp salt
1 tsp vanilla
In a sauce pan mix together flour and sugar. Pour buttermilk into sauce pan and whisk together with flour and sugar. Over medium heat whisk constantly until mixture is thickened (should coat the back of a spoon) it should be bubbling a bit but hopefully not browning on the bottom of the pan because you've been whisking consistently. If it does brown on the bottom and you get little toasty bits don't fret. Just strain it through a fine mesh sieve!
Allow your buttermilk roux to cool in the fridge until it's close to room temp.
Pour roux into an electric mixer and using the whip attachment whip it for a few minutes. Add in pads of the softened butter until it is all incorporated. If it begins to separate it means you have allowed your roux to cool too much but don't worry: place some of the frosting in a container and microwave until melted before adding it back into the bowl and whipping. continue doing this until the mixture is soft and fluffy and there are no obvious lumps or separation.
Add in baking powder, salt, and vanilla and whip on low, and then high.
You should have creamy, fluffy, tangy, falsity perfection.
Let's decorate!
I decided to decorate my red velvet cake with fireworks because, aside form the terror they strike in my pup, they are my favorite part of Independence Day.
I thought a "brush embroidery" technique would achieve the closest visual results rather than piping lines, and I think on that front I was correct. Here is the basic premise:
Once you have frosted your cake and allowed it to cool in the fridge for at least 30 minutes to an hour you may begin. Mix up some red and blue pots of frosting and microwave them enough that you have a rather soupy but still thick consistency like a THICK paint. If it's too runny add in a little bit of solid frosting and beat it together until it thickens up, or place it in the fridge for a few minutes and stir it together again.
(You can get the most out of your Wilton Gel Food Coloring by microwaving it. The colors deepen and distribute.)
You'll need a clean paint brush, preferably unused or only used for decorating cakes. Dip your paint brush into your blue or red buttercream until you get a bead on the tip. using a swift brush stroke apply the bead of frosting to the cake and swipe towards the center of your firework. Repeat in a circle. This does not need to be precise as fireworks are like snowflakes and all different. If you are worried about screwing your cake up I would suggest practicing on your countertop first until you feel you have the swipe down. After I've covered my cake in firework bursts I like to go in and add a few specks here and there.
And there you have it!
I didn't take pictures of the process but hopefully this description gives you a good idea how to proceed. If you really want to check out some videos on this technique look up "brush embroidery" on youtube and fall down a rabbit hole of decorating videos!